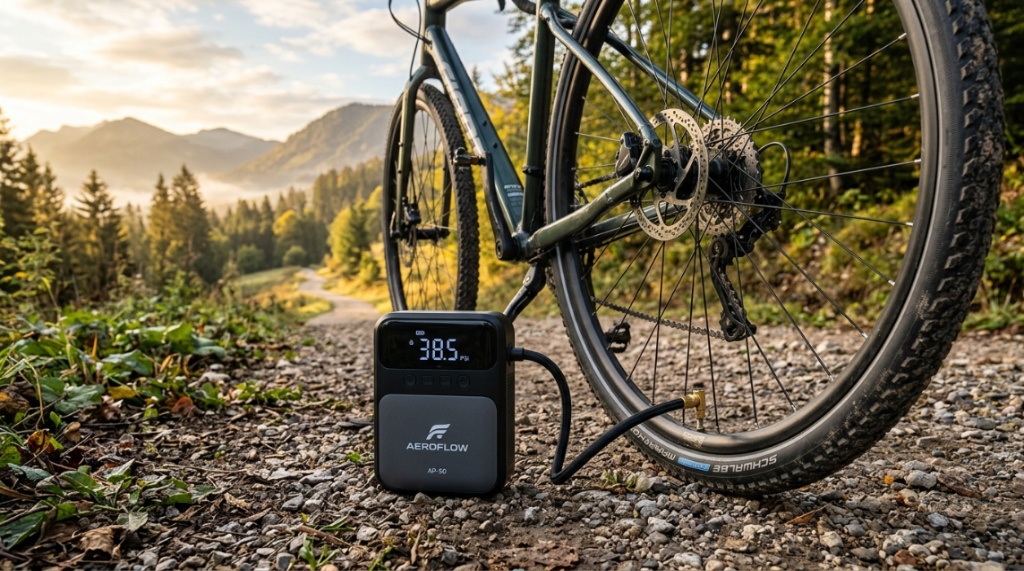
Picture this: you are halfway through a beautiful ride along the Puget Sound, and your rear tire starts feeling mushy. The trail is buzzing with other cyclists, the views are stunning, but you have a flat. In Washington, where the landscape shifts from coastal paths to steep mountain climbs in thirty minutes, having a convenient bike inflator WA riders trust is not a luxury—it is a necessity. The problem most cyclists face is not finding a pump; it is finding one that actually works when you need it. You need a device that is fast, compact, and reliable in wet conditions. Whether you ride in Seattle rain or Spokane sun, this guide will help you choose the right inflator so you never get stranded.
What Makes a Bike Inflator Truly Convenient for Washington Riders?
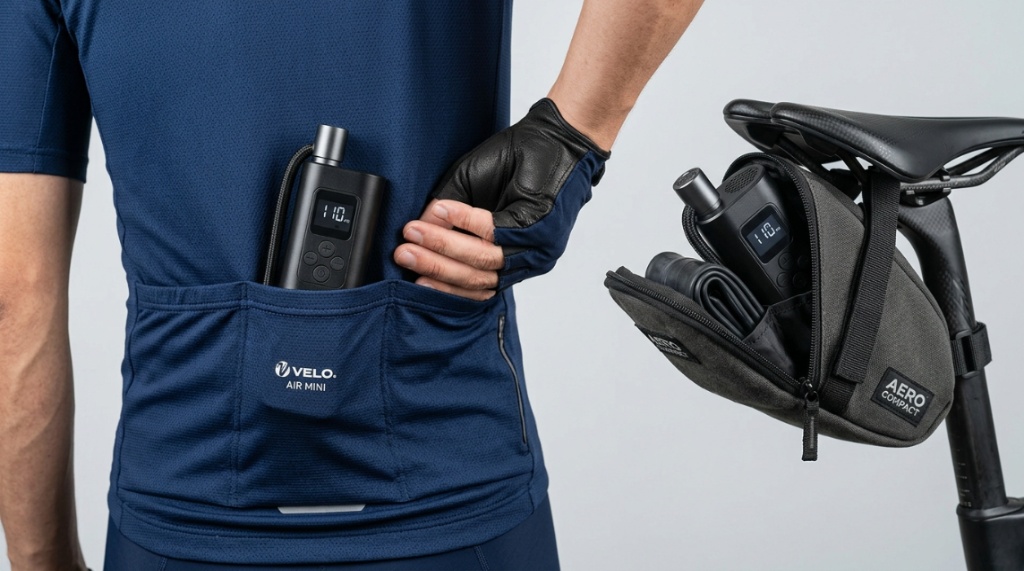
Portability Without Sacrificing Power
A convenient inflator must fit into your jersey pocket or saddlebag. However, small pumps often lack the power to seat a tubeless tire or reach 120 PSI for road bikes. Look for a mini pump with a dual-action mechanism—it pumps air on both the push and pull stroke. This design doubles your efficiency without adding size. In Washington, where you might fix a flat on a rainy trail, a compact form factor combined with high volume output is the gold standard.
Water and Weather Resistance
Washington is famous for its drizzle. A pump made from aluminum or reinforced composite with sealed internals will not rust or jam after a few wet rides. Check for O-ring seals on the valve head and a rubber dust cap. These small features prevent moisture from corroding the internal spring mechanism. A convenient bike inflator WA must handle humidity, mud, and sudden downpours without skipping a beat.
Easy-to-Read Pressure Gauge
Guessing your tire pressure leads to pinch flats or rough rides. A built-in gauge saves you from carrying a separate tool. Digital gauges are accurate but need batteries. Analog gauges are reliable but harder to read in low light. The best choice for Washington evenings is a pump with a large, backlit analog dial or a simple indicator system that shows green (good), yellow (low), and red (flat). This visual clarity matters when you are rushing to beat the sunset.
Why Washington Terrain Demands a Specific Type of Inflator
Mixed Surfaces Require Versatile Valve Heads
From gravel paths along the Columbia River to smooth asphalt in Redmond, your inflator must handle both Presta and Schrader valves. A smart-head that flips between the two without losing parts is ideal. Some pumps even include a built-in adapter for inflating balls or pool floats. This versatility means one tool serves all your bikes—road, mountain, and commuter. Do not settle for a pump that only fits one valve type; you will regret it the first time you borrow a friend’s bike.
Elevation Changes Affect Pump Performance
At higher elevations near Mount Rainier, the air is thinner, making it harder to achieve high pressure with a manual pump. A pump with a larger barrel diameter compensates by moving more air per stroke. If you plan to ride in the Cascades or Olympics, choose a pump with a volume rating above 400 cc per stroke. This ensures you can inflate a 29-inch mountain bike tire from flat to 30 PSI in under 60 strokes, even at elevation.
Rapid Temperature Swings and Tire Flexibility
Washington mornings can be 40°F and afternoons 70°F. This temperature swing changes tire pressure by about 1 PSI per 10°F. A convenient inflator with a bleed button lets you release excess pressure quickly. This is useful after a descent where tires heat up, or when adjusting for traction on a sudden gravel section. A bleed valve adds precise control that standard pumps lack.
What Features Should You Look for in a Convenient Bike Inflator WA?
Auto-Stop or Pressure Limiting Technology
Overinflating a tire is just as bad as underinflating. Some premium inflators include a mechanical stop that prevents you from exceeding a set PSI. This feature is especially helpful for tubeless tires, where seating the bead requires a sudden burst of air, but you then need to reduce pressure for traction. If you have had a tire explode on you during inflation, this feature alone is worth the upgrade.
Integrated Storage for Attachments
Losing the small adapters for Presta valves or basketballs is frustrating. A pump with a built-in storage compartment in the handle or base keeps everything together. Look for a design where the hose retracts into the body, protecting it from dirt and damage. This organizational feature saves you from digging through your bag on the side of a busy trail.
Compatibility with CO2 Cartridges
For the fastest fix, a pump that accepts CO2 cartridges gives you an instant inflation option. However, CO2 is a one-time use solution. The best pumps offer a dual-mode function: manual pumping for normal use, plus a threaded port for CO2 for emergencies. In Washington, where a sudden downpour can make manual pumping miserable, having a CO2 backup means you are back on the bike in under two minutes.
How to Choose Between a Mini Pump, Floor Pump, and Electric Inflator
Mini Pumps for On-the-Go Convenience
Mini pumps are lightweight, cheap, and easy to mount. They fit in a jersey pocket or under a bottle cage. The trade-off is slower inflation speed and higher effort. For casual riders who stay close to town, a mini pump with a hose extension is sufficient. For longer backcountry rides, you might want a more powerful option.
Floor Pumps for Home and Pre-Ride Use
A floor pump delivers high volume quickly and has an accurate gauge. It is the best tool for your garage or trunk. Many Washington cyclists keep a floor pump at home for weekly tire checks and a mini pump for the road. A floor pump with a dual dial gauge that reads 0–160 PSI works for both road and mountain bikes. Look for a stable base and a comfortable handle for easier pumping.
Electric Inflators for Speed and Precision
Battery-powered inflators have become popular because they automate the process. They inflate a tire in 30 seconds and stop automatically at a preset pressure. The downside is weight, battery life, and cost. For competitive cyclists or those with multiple bikes, an electric inflator saves time. For Washington’s rainy days, choose one with an IPX4 water resistance rating to avoid short circuits.
Which Type Is Best for Commuters in Seattle?
Seattle commuters need reliability above all. A mini pump with a CO2 backup offers the best balance. You use the manual pump for weekly top-ups, and the CO2 for emergencies. Store the pump in a frame mount for quick access. Avoid electric inflators if you commute in heavy rain, as they are not always reliable when wet.
How to Test a Bike Inflator for Durability and Performance
Check the Valve Connection Seal
Before buying, inflate a spare tire to 60 PSI. If the pump head slips or leaks air, the seal is poor. A good head should click into place firmly and hold pressure even when you twist the pump at an angle. This test reveals cheap plastic heads that crack after a few uses.
Count Strokes to Reach Target Pressure
With a standard 700x25c tire at 80 PSI, a decent pump should take no more than 50 strokes. Count the strokes when testing. If it takes more than 80, the pump is inefficient. Efficient pumps have a longer barrel and smoother internal finish. Look for pumps with a collapsible handle that extends for better leverage.
Assess the Grip and Leverage
Inflating a tire in the rain is miserable if the handle is slippery. Look for a rubberized or textured grip. The handle should also be long enough to use two hands if needed. A sling-style handle that fits your palm is better than a tiny T-handle that cramps your finger.
What Are the Common Mistakes Washington Cyclists Make with Inflators?
Ignoring Valve Stem Length
Deep-dish carbon rims require a valve extender. Many pumps only work with standard-length valves. If you have deep rims, ensure the pump head reaches the valve core. Some pumps come with a flexible hose that extends 6 inches, solving this problem. Measure your valve stem length before buying.
Not Carrying a Patch Kit
A pump is useless if you have a hole in your tire that can not be fixed. Always carry a patch kit or spare tube. A convenient inflator WA setup includes a pump, a patch kit, and a tire lever in one compact case. This “fix kit” approach saves space and ensures you can actually use the pump.
Buying Based on Price Alone
Cheap pumps often fail within a month. They break at the head or the piston seals leak. Spending $40–$60 on a mid-range pump saves you from buying a new one every season. Look for brands with replaceable parts, such as seal kits or replacement hoses. This extends the life of the pump significantly.
How to Properly Maintain Your Bike Inflator for Longevity
Lubricate the Piston Seal Regularly
Every few months, apply a drop of silicone grease to the piston seal. This prevents the rubber from drying out and cracking. Wipe off any excess to avoid gumming up the internal chamber. A lubricated pump requires less effort and lasts longer.
Store in a Dry Place
Leaving a pump in your car trunk in Washington’s wet climate causes rust. Store it inside your home or in a sealed plastic bag. If the pump gets wet, dry it off immediately and apply a thin layer of lubricant to the valve head threads. This prevents corrosion on the brass components.hether you are commuting daily or heading out to Compare Budget Mountain Bikes Like a Pro, carrying a reliable, convenient bike inflator ensures you never get stranded by a sudden flat tire.
Inspect the Hose and Head for Cracks
Rubber hoses dry out and crack over time. Replace the hose if you see any splits. The pump head’s plastic can also become brittle from UV exposure. Store the pump away from direct sunlight when not in use.
When Should You Replace Your Bike Inflator?
After Consistent Leakage
If air escapes from the pump head during inflation, the seal is worn. This wastes your energy and time. Replace the pump immediately to avoid frustration on the trail.
When the Gauge Becomes Inaccurate
Check the gauge against a known accurate floor pump. If it reads more than 5 PSI off, the gauge is faulty. Some pumps allow gauge replacement, but most are sealed units. If replacement is not possible, buy a new pump.
Signs of Corrosion or Rust
Rust on the barrel or handle weakens the structure. If you see orange-brown spots, the pump may fail mid-stroke. Replace it before you are stranded.
Which Washington Trails Benefit Most from a Convenient Inflator?
Burke-Gilman Trail
This flat, long trail near Seattle is prone to glass and debris. A convenient inflator with a CO2 cartridge is perfect here because stops are frequent and speed matters. You can patch a flat quickly and continue your commute.
Mount Si Trail
Steep climbs and rocky descents put stress on tires. A mini pump with high volume output helps you top up after losing pressure on descents. The bleed valve is critical here for adjusting traction on loose gravel.
Palouse to Cascades Trail
This remote gravel route runs through farmland and forest. A pump with dual-mode (manual and CO2) is essential because cell service is spotty. You need a tool that works for any puncture, anywhere along the 200-mile route.
Where Can You Find the Best Recommendations for a Convenient Bike Inflator WA?
Choosing the right inflator requires seeing real-world comparisons. Instead of relying on generic online reviews, you can explore detailed guides that compare multiple models specifically tested in Washington’s conditions. These reviews cover performance in wet weather, altitude performance, and valve compatibility. For a trusted resource, check out this comprehensive roundup of the best pumps tailored for Washington riders: convenient bike inflator WA. The guide breaks down each option by price, durability, and speed, saving you hours of research.
Frequently Asked Questions
What is the best type of bike inflator for rainy weather?
A mini pump with aluminum or reinforced composite body and O-ring sealed internals resists moisture best. Look for a dust cap on the valve head to prevent water ingress. Avoid electric inflators unless they have an IPX4 rating.
Can I use a bike inflator for tubeless tires?
Yes, but you need a pump with a high volume capacity (400 cc or more) and a gauge to check pressure. Some pumps feature a built-in air chamber that stores extra pressure to seat the bead. Manual pumps can work for reseating but require more effort.
How many PSI should I carry in my tires for Washington trails?
For paved commutes, 80–100 PSI for road tires and 30–50 PSI for mountain tires. For gravel trails, start at 40 PSI and adjust based on traction. Always carry a pump with a bleed valve to fine-tune pressure on the go.
Is a CO2 inflator better than a manual pump?
CO2 inflators are faster but one-time use. Manual pumps are reusable but slower. A combination pump that offers both options is the best choice for convenience and reliability in varied Washington conditions.
Do electric inflators work in cold temperatures?
Lithium batteries lose efficiency below 40°F. An electric inflator may work slower in cold weather but still functions. For winter riding, a manual pump is more reliable. Keep the battery warm by storing it in an inner pocket.
How do I know if my pump fits Presta or Schrader valves?
Check the pump head. A head with a reversible core or flip switch works with both. Many pump heads have a small diagram showing which side is for Presta and which for Schrader. If unsure, test on an old tube.
Can I fix a flat without removing the wheel?
Yes, if you have a pump with a flexible hose. This allows you to reach the valve while the wheel is mounted. For rear wheels on disc brake bikes, you may need an angled valve adapter. Practice at home before attempting on the trail.
